This week’s guest post comes from fellow blogger, Andrea McCardle of Austin, Texas. Andrea runs the blog, The Everyday Soiree, about her adventures in DIYing, home decorating, party-throwing, and raising two little ones.
Here is a before shot of Andrea’s bathroom; keep reading for her story, in her words!
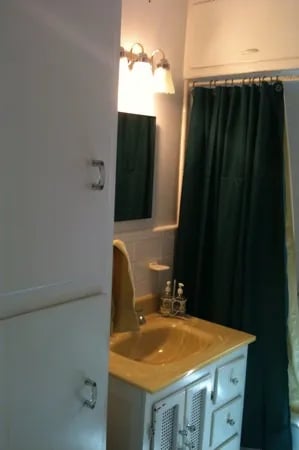
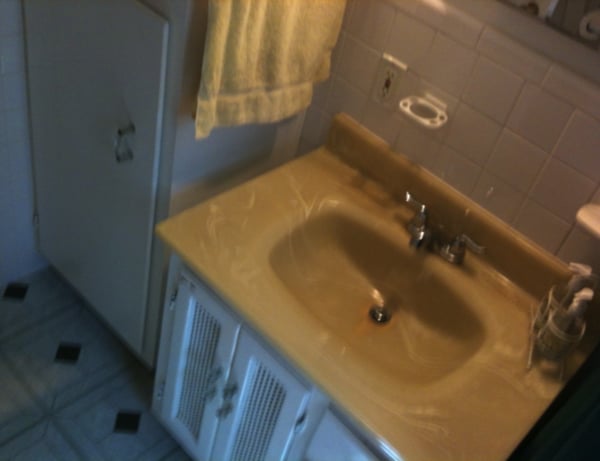
Hi there! I’m Andrea, an East Austin 30-year-old, trying to maintain my artistic identity while spending my days changing diapers and making peanut butter and jelly sandwiches. I document all my endeavors (both creative and the mommy-adventures) over on my blog The Everyday Soirée.
When my significant other and I bought our new house a couple of years ago, we adored it but realized we were taking on a project. Within hours of us signing, he was in the house ripping up the floors, discovering beautiful, old hardwood underneath. The bathroom was one of the first things on our list to tackle.
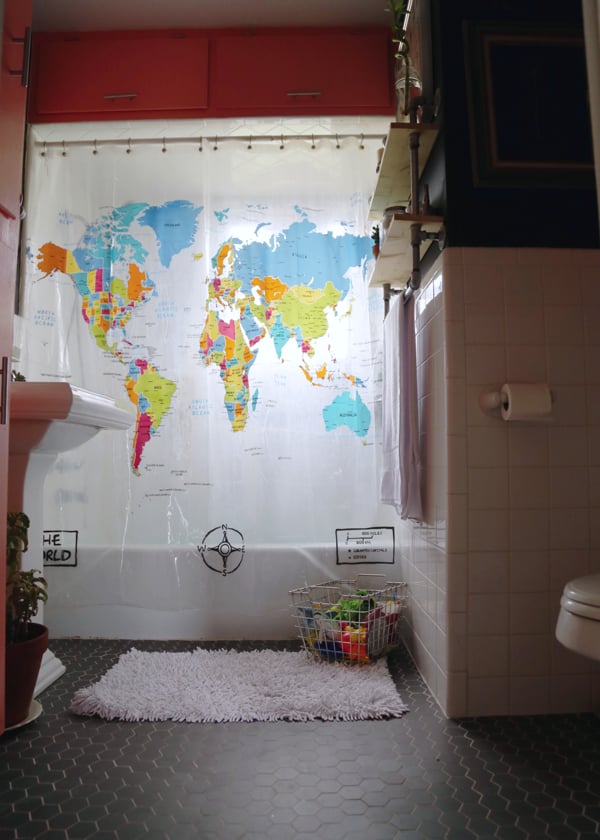
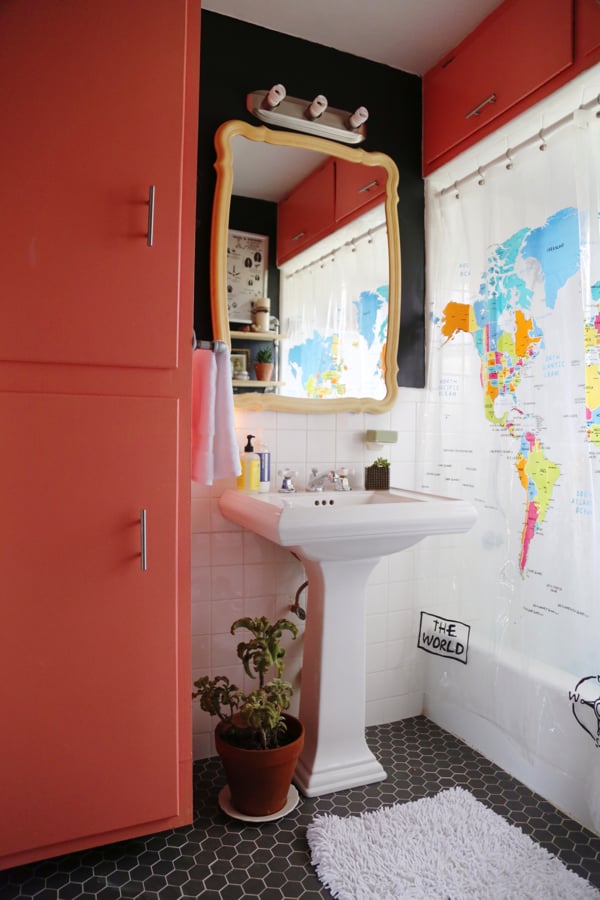
First, we ripped up the old vinyl floor and tore out the old vanity and sink, removed the old sheetrock, and installed new. We added a new gray hexagon tile floor and pedestal sink with a vintage-style faucet. (My very difficult job in all this was keeping our toddler out of the bathroom).
Next I was able to take over the projects (yay!).
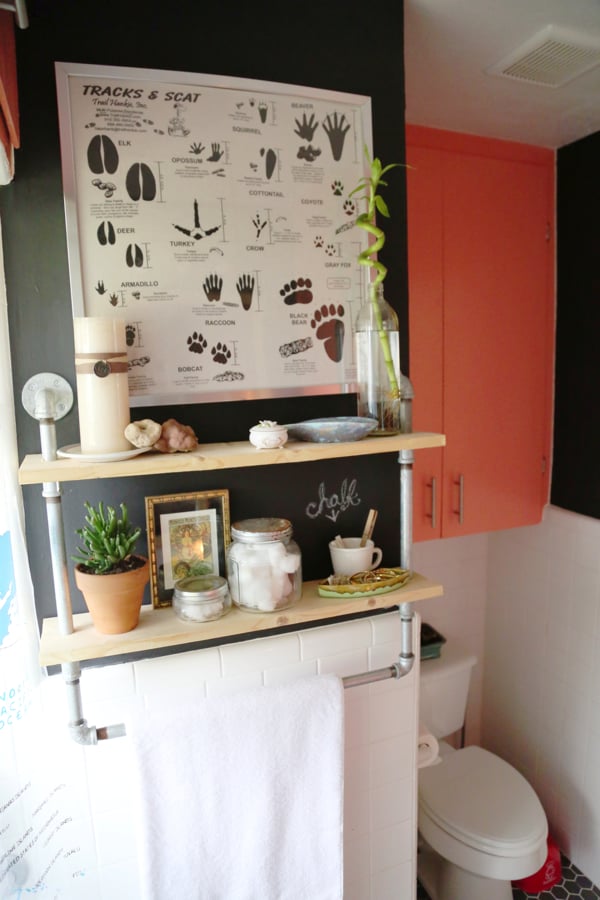
- I painted the walls with a black chalkboard paint.
- I gave the cabinets a facelift by sanding them, painting them, and replacing the hardware.
- I hung the vintage salon mirror on the medicine cabinet door. (Notice that it hangs down past the tile? I love that!)
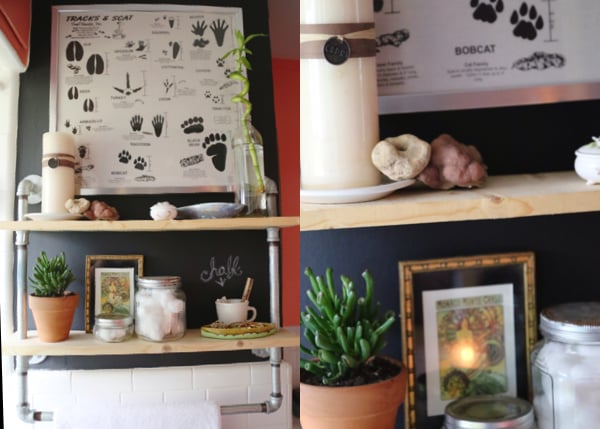
- I built the industrial wood and pipe shelving and towel racks. (which I never made a DIY post about, but there are so many great ones already out there. Check Pinterest!)
The floor tile is definitely our favorite part of the bathroom, which we found at a local tile shop here in Austin (I definitely recommend trying to go local with most of your needs; when it came to tile we found a much better variety at a smaller shop). The mirror we found at a garage sale. It’s such a cool touch, I definitely recommend looking for an old mirror at your local thrift or vintage shops. The vanity, paint, sheetrock and supplies for the shelf were purchased at Home Depot.
Step one of the project (the one I didn’t have a part in) took a few weeks. However, finishing up the project took me the following year (although to my credit, I got pregnant and had our daughter that year also).
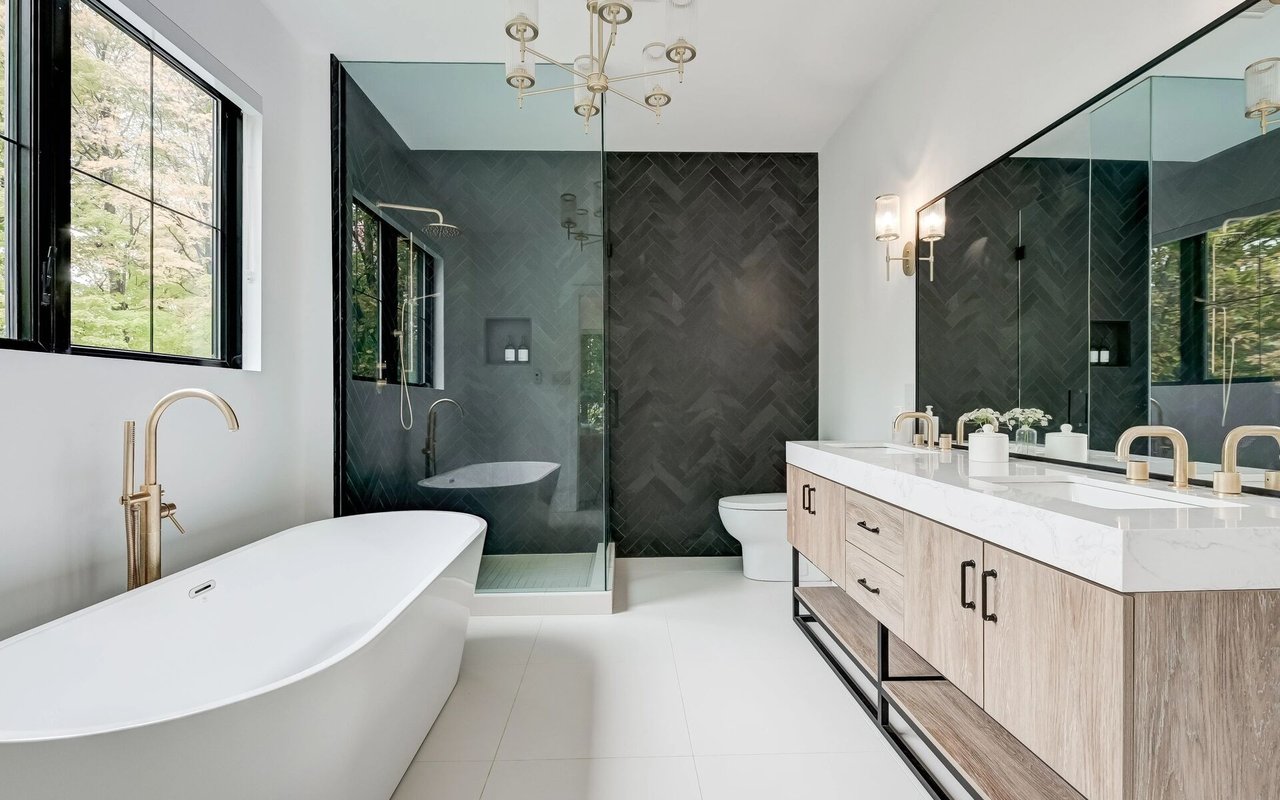
Here are after pictures of Andrea’s modern & fun bathroom!
Do you have a project you’d like to share? Send your story and photos to kelly@stylishpatina.