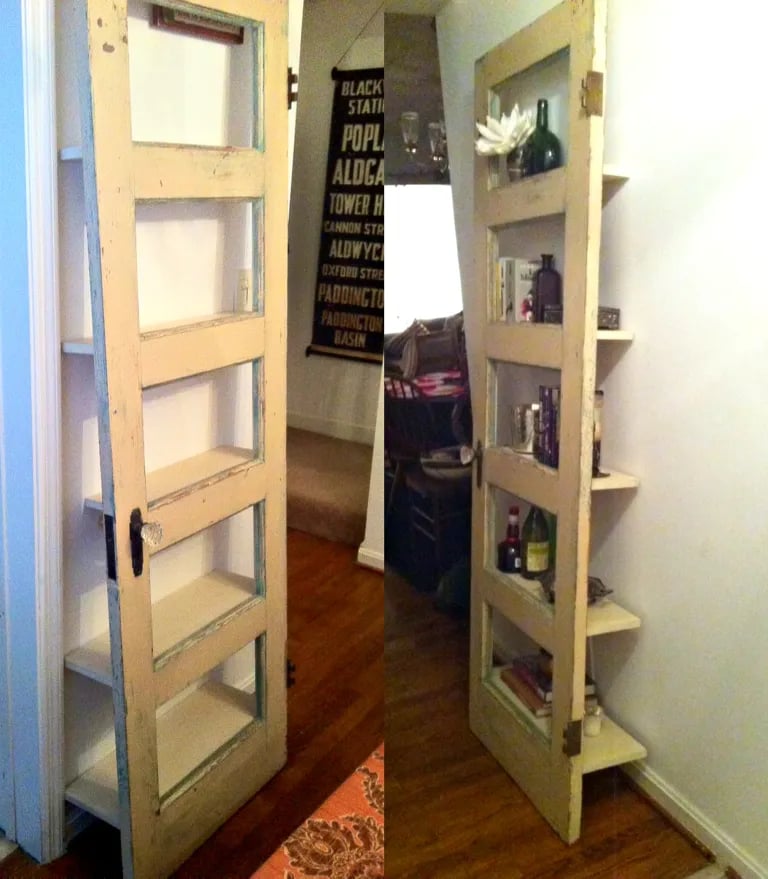
This week’s guest submission is a DIY project, submitted by one of our very own staffers, Heather! Heather transformed an old, vintage door into a functional and fabulous bookshelf. Modern function with vintage soul is definitely at work here.
Heather shared with us a few before images as well as the process she used to turn the vintage door into a functional bookshelf.
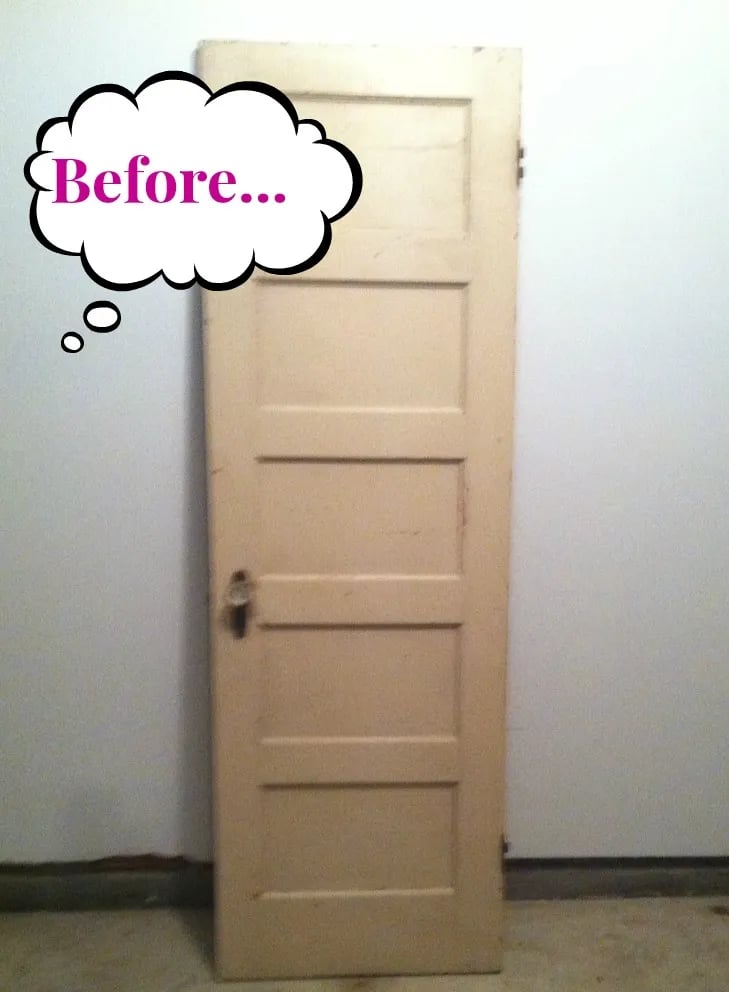
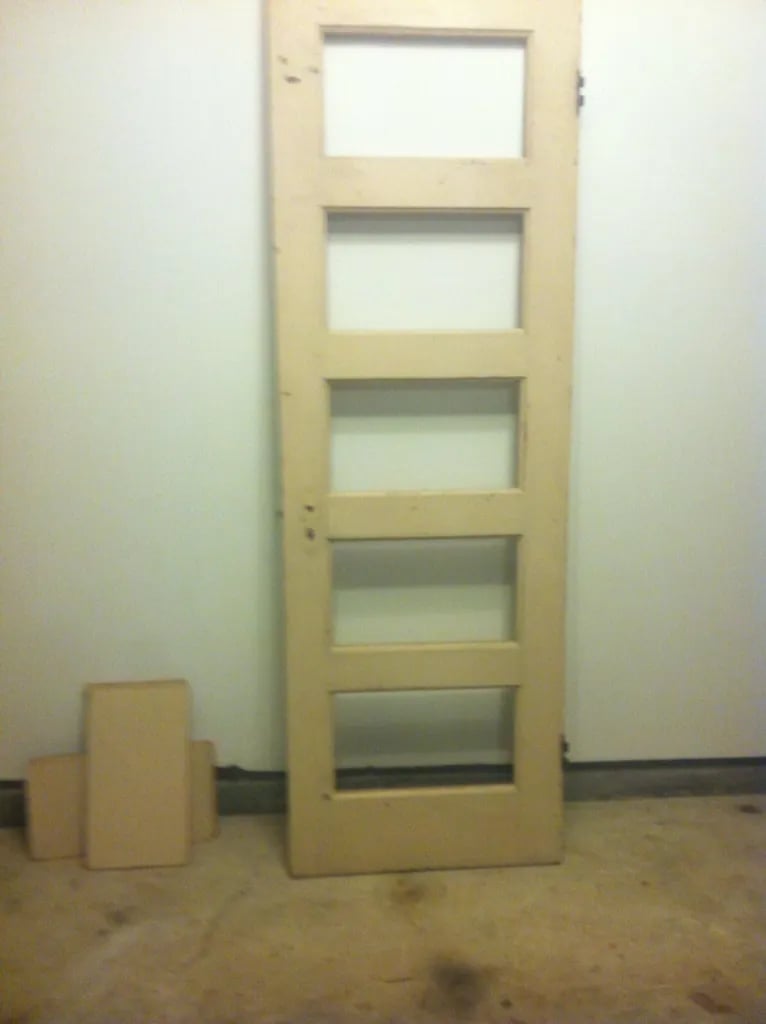
Here is a photo of the door before Heather began her project.
There are few items Heather needed to complete this project:
– One vintage door
– Jigsaw
– Sanding paper
– Wood glue
– Screws & screwdriver/drill
– 1″x6″ wood board
– Measuring tape
– Annie Sloan Chalk Paint & brushes
So, to start her project, Heather cut the door panels with a jigsaw to create room for the shelving. After the panels were cut, she sanded the perimeter to smooth any imperfections.
Then Heather made a trip to Home Depot to pick up a few items she needed to complete her project, including a 1″x6″ wood board. She then cut the 1″x6″ wood board into 5 pieces the same length as the door width.
Now, Heather needed to figure out the size of each shelf panel, she did this by leaning the door against the wall at her desired angle, then she measured the distance between the wall and each of the 5 panels. She then cut the wood panels into shelving pieces using the those measurements.
To secure her new shelving pieces to the door base she used wood glue and screws. As a finishing touch and to give her vintage door bookshelf a pop of color she subtly painted it with a Provence and English Yellow custom mix. She then distressed the piece and gave it a coat of clear wax.
All in all, Heather spent four hours on this project and we think it was beyond worth it! The vintage door used as a bookshelf is an unexpected and creative way to use vintage salvage pieces.
Here is a photo of the finished project.
We hope you enjoyed this project, as always please feel share yours with us at press@stylishpatina!
For those of you who would like a more step-by-step how-to, here is Heather’s description of her steps:
1. Cut door panels with jigsaw
2. Sand the perimeter where cut to smooth any imperfections
3. Bought 1″x6″ wood board from Home Depot
4. Cut 5 pieces of wood the length of the door width
5. Leaned door against wall at desired angle, then measured the distance between the wall and each of the 5 panels
6. Cut shelves according to previous measurements mentioned above
7. Use wood glue and screws to secure the shelves in place
8. Subtly paint with Provence and English Yellow custom mix throughout the door for a pop of color (sand/distress & clear wax)
The Skinny:
– Find vintage doors and other fab salvage pieces at our Rough Luxe Market this weekend, 138 W Jefferson St in Falls Church! More details here.
– Purchase chalk paint and supplies in our retail store and online here.
– Submit your DIY projects, before & afters & room makeovers to us; send us an email with photos to press@stylishpatina!